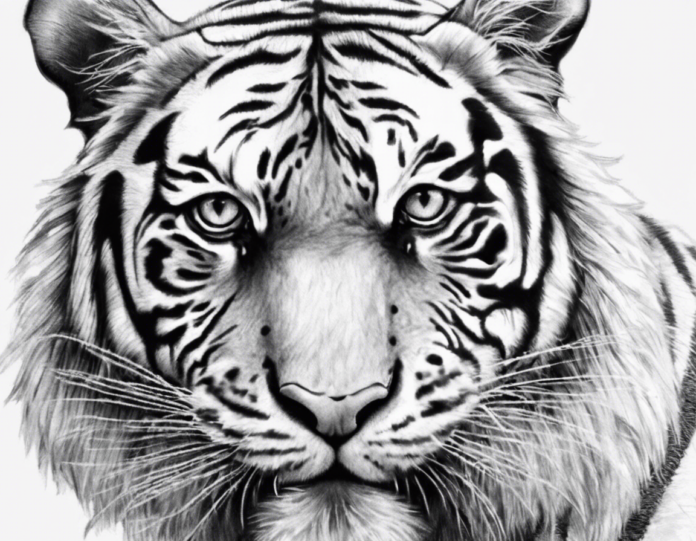
So, you want to learn how to draw a tiger? Fantastic choice! Tigers are majestic creatures, and capturing their essence on paper can be a rewarding experience. In this step-by-step tutorial, we will break down the process of drawing a tiger into manageable steps, making it easy for both beginners and intermediate artists to follow along. By the end of this guide, you will have your very own impressive tiger drawing to show off!
Materials Needed:
Before we dive into the tutorial, let’s gather the necessary materials:
– Pencil: Preferably an HB or 2B for sketching.
– Eraser: To correct mistakes and clean up your sketch.
– Paper: Choose a smooth surface paper for better results.
– Colored Pencils or Markers (optional): To add color to your final drawing.
Step 1: Basic Shapes
Start by sketching the basic shapes that will define the body of the tiger. Draw a large oval for the head and a bigger oval for the body. Add two smaller ovals for the ears and a long oval for the tail.
Step 2: Outline Details
Now, begin outlining the details of the tiger’s face. Sketch the eyes on the head oval, a nose at the bottom, and mouth slightly curved from the nose. Add ears at the top of the head oval.
Step 3: Body Structure
Sketch the legs using long, slightly curved lines coming from the body oval. Tigers have powerful limbs, so make the legs muscular. Add paws at the end of each leg.
Step 4: Stripes and Fur Details
Tigers are known for their distinctive stripes. Add stripes on the body, legs, and face of the tiger. Remember, the stripes are not straight lines but irregular shapes. Add fur texture by drawing short, curved lines all over the tiger’s body.
Step 5: Refine and Finalize
Go over your sketch, refining any rough outlines and adding more details like whiskers, claws, and shading to give your tiger drawing depth and dimension. Erase any unnecessary lines and make necessary adjustments.
Step 6: Adding Color (Optional)
If you want to take your drawing to the next level, consider adding color with colored pencils or markers. Tigers are typically orange with black stripes, but feel free to get creative with your color choices.
Tips for a Realistic Tiger Drawing:
- Study Reference Images: Look at pictures of tigers to understand their anatomy and markings.
- Practice Shading: Shading can make your drawing look more realistic. Practice light and dark shading techniques.
- Pay Attention to Details: Small details like whiskers, paw pads, and facial features can enhance the realism of your tiger drawing.
Frequently Asked Questions (FAQs):
Q1: I’m a beginner. Is drawing a tiger too advanced for me?
A1: Not at all! Start with basic shapes and take it one step at a time. Practice will help you improve.
Q2: Can I use a reference image while drawing a tiger?
A2: Absolutely! Using reference images is a great way to understand the anatomy and details of a tiger.
Q3: How can I make my tiger drawing look more lifelike?
A3: Pay attention to details like fur texture, whiskers, and shading to add realism to your drawing.
Q4: What are some common mistakes to avoid when drawing a tiger?
A4: Avoid making the stripes too symmetrical, overlooking proportions, and neglecting to add details like whiskers and facial features.
Q5: Is it necessary to add color to my tiger drawing?
A5: Adding color is optional, but it can enhance the visual appeal of your drawing. Experiment with different color palettes.
Drawing a tiger may seem daunting at first, but with practice and patience, you can create a stunning piece of art. Remember, each stroke of the pencil brings you one step closer to capturing the spirit of this magnificent animal on paper. Embrace the process, enjoy the journey, and let your creativity roar as you bring your tiger drawing to life!

